
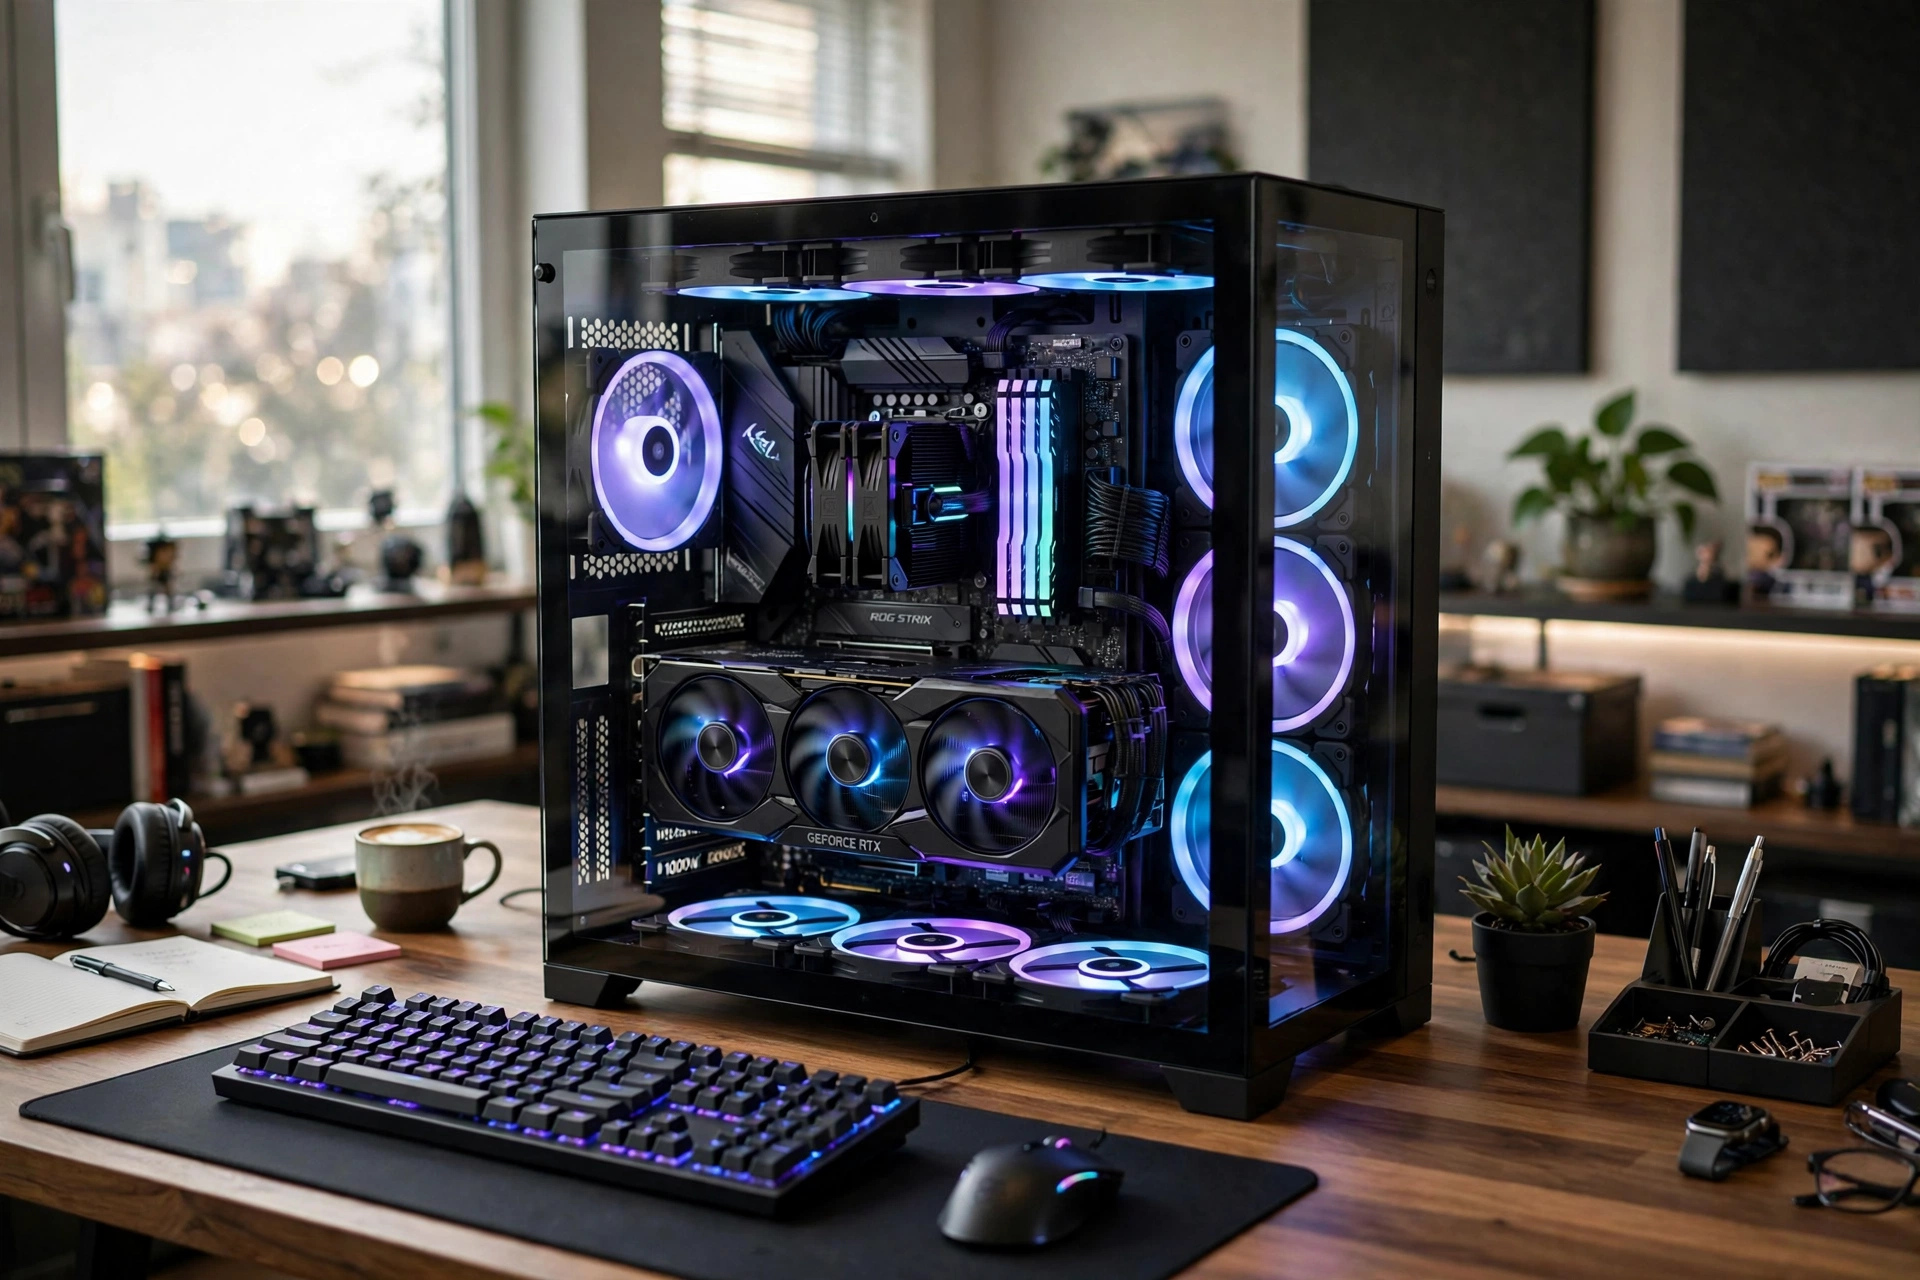
Building a gaming PC can be an exciting and rewarding experience, but it takes careful planning. It gives you the satisfaction of creating a custom machine tailored to your specific needs. This comprehensive guide covers everything from choosing components to assembling your rig and installing the software. As a result, you will end up with a gaming PC that fits your exact needs and budget.
Step 1: Define Your Budget and Requirements
Before diving into components, decide your budget and the kind of gaming experience you want. High-end gaming builds can run the latest games at ultra settings, for example. Mid-range builds can handle most games at medium to high settings. Budget builds are great for less demanding games and older titles.
Not sure a desktop is right for you? Compare the best laptops for gaming vs. work to decide.
Step 2: Choose Your Components
Processor (CPU)
The processor is the brain of your PC, so choose it carefully. For gaming, focus on CPUs with high single-core performance. AMD’s Ryzen and Intel’s Core i5/i7/i9 series are popular choices, for instance. For budget builds, a Ryzen 5 or Intel i5 offers great performance.
Graphics Card (GPU)
The GPU matters most for gaming, while NVIDIA and AMD are the main manufacturers. For high-end builds, consider options like the NVIDIA RTX 3070/3080 or AMD RX 6800/6900. Mid-range options include the NVIDIA GTX 1660 Super or AMD RX 5600 XT, for example. Budget options like the NVIDIA GTX 1650 or AMD RX 550 are also available.
Motherboard
Pick a motherboard compatible with your CPU. Make sure it has the ports and slots your components need. ATX motherboards are the standard size, while Micro-ATX and Mini-ITX suit smaller builds. Brands like ASUS, MSI, and Gigabyte are reliable choices.
Memory (RAM)
Aim for at least 16GB of RAM for smooth gaming performance. DDR4 is the current standard, with speeds ranging from 2400MHz to 3600MHz. In addition, brands like Corsair, G.Skill, and Kingston come strongly recommended.
Storage
A combination of SSD and HDD still works well. Use an SSD (250GB to 1TB) for your operating system and frequently played games. For extra storage, add an HDD (1TB or more). In addition, NVMe SSDs offer faster speeds than SATA SSDs.
Power Supply Unit (PSU)
Choose a PSU with enough wattage to support your components. A 650W PSU is usually adequate for mid-range builds. High-end builds may need 750W or more. Also look for 80 Plus certification for efficiency. Brands like EVGA, Corsair, and Seasonic are dependable.
Case
Because airflow matters, select a case that fits your motherboard size and offers good ventilation. Cases come in various sizes, including Full Tower, Mid Tower, and Mini Tower, for instance. Brands like NZXT, Corsair, and Fractal Design offer quality options.
Cooling
Adequate cooling is essential. Stock coolers work fine for budget builds, but consider aftermarket coolers for better performance. Liquid cooling systems are also an option for high-end builds.
Step 3: Assemble Your PC
Prepare Your Workspace
First, make sure you have a clean, static-free work area. Gather all your tools, including a screwdriver and thermal paste (if not pre-applied).
Install the CPU
Open the CPU socket on the motherboard. Then align the CPU correctly and gently place it in the socket. Secure the CPU with the retention arm.
Install the RAM
Open the RAM slots on the motherboard and insert the RAM sticks. Then push down until they click into place.
Mount the Motherboard
Place the motherboard inside the case and align it with the screw holes. Then secure it with screws.
Install the Power Supply
Mount the PSU in the case, usually at the bottom or top, and secure it with screws. Then connect the power cables to the motherboard, CPU, and GPU.
Install Storage
Mount your SSD and HDD in their respective bays. Connect them to the motherboard using SATA cables (for SATA drives). Instead, for NVMe SSDs, connect directly to the M.2 slot.
Install the GPU
Insert the GPU into the PCIe slot on the motherboard. Then secure it with screws and connect the power cables from the PSU.
Connect Case Fans and Front Panel Connectors
Connect the case fans to the motherboard or a fan controller. Then attach the front panel connectors (power button, USB ports, audio jacks) to the appropriate pins on the motherboard.
Cable Management
Tidy up the cables using zip ties or Velcro straps. This keeps the build clean while improving airflow inside your gaming PC.
Step 4: Install the Software
Install the Operating System
Use a USB drive to install your operating system (OS), usually Windows 10 or 11. Then follow the on-screen instructions to complete the installation.
Install Drivers
Install the essential drivers for your motherboard, GPU, and other components first. Then check the manufacturers’ websites for the latest versions.
Install Games and Software
Finally, install your favorite games and any additional software you need. When you are ready, platforms like Steam, Epic Games Store, and GOG are great for game downloads.
If you also create videos or stream, check out these gadgets for content creators to upgrade your setup.
Conclusion
Building a gaming PC requires careful planning and attention to detail. In the end, you get a machine tailored to your needs and preferences. Whether you are going for a high-end rig or a budget-friendly build, following these steps will help you create a powerful and efficient gaming PC. Happy building!